The Magic of Homemade Sweetened Condensed Coconut Milk: Your Dairy-Free Delight
For anyone navigating the delicious world of dairy-free baking, treat-making, or simply seeking a richer coffee experience, sweetened condensed coconut milk often emerges as a culinary hero. This luscious, thick, and sweet elixir, traditionally made with dairy, is an indispensable ingredient in countless recipes, from creamy pies and fudgy bars to decadent no-churn ice creams and exotic beverages like Thai Iced Coffee. The good news? Crafting your own sweetened condensed coconut milk at home is not only incredibly simple but also allows you to control the ingredients, ensuring it perfectly fits your dietary needs, whether you're following a sugar-free, keto, or vegan lifestyle.
While store-bought dairy-free alternatives are slowly emerging, they can often be pricey, difficult to find, or laden with undesirable additives. Making it from scratch might sound like a daunting kitchen project, but we promise it’s anything but! With just two core ingredients and a little stovetop magic, you can transform humble coconut milk into a rich, versatile, and utterly delicious staple. This guide will walk you through everything you need to know, from selecting the best ingredients to mastering the reduction process, ensuring perfect results every time.
Gathering Your Essentials: Ingredients for Success
The beauty of homemade sweetened condensed coconut milk lies in its simplicity. You truly only need two main ingredients, making quality paramount. Here’s what you’ll need and why:
- Full-Fat Canned Coconut Milk: This is the non-negotiable star of the show. Do NOT opt for light coconut milk, coconut beverage in a carton, or cream of coconut. You need the high fat content found in full-fat canned coconut milk for the desired richness and, crucially, for the mixture to thicken properly as it reduces. Look for brands with minimal additives, ideally just coconut extract and water. Shake the cans before opening to ensure the cream and liquid are well combined.
- Your Choice of Sweetener: This is where you tailor the recipe to your dietary preferences, whether you're making a traditional sugar-sweetened version or a keto-friendly option. We'll dive deeper into specific choices in the next section, but generally, you'll need a granular or pourable sweetener.
While optional, a couple of additions can elevate your homemade condensed milk:
- Pinch of Salt: Just a tiny amount (about 1/8 to 1/4 teaspoon) can balance the sweetness and deepen the overall flavor, preventing it from tasting cloyingly sweet.
- Vanilla Extract: Adding 1/2 to 1 teaspoon of good quality vanilla extract towards the end of the cooking process imparts a warm, aromatic note that complements the coconut beautifully.
Sweetening Your Way: Sugar & Keto Options Explored
One of the greatest advantages of making your own sweetened condensed coconut milk is the freedom to choose your sweetener. Each option brings its own unique qualities to the final product:
Traditional Sugar Options:
These sweeteners provide classic sweetness and contribute to the rich, caramelized flavor often associated with condensed milk.
- Organic Cane Sugar: This is perhaps the most neutral and widely available option. It produces a light-colored, classic-tasting condensed milk that can be used universally in any recipe calling for its dairy counterpart.
- Coconut Sugar: For those seeking a more complex flavor profile, coconut sugar is an excellent choice. It imparts a beautiful caramel-like taste and a rich, darker hue to the condensed milk, similar to dulce de leche. Keep this color in mind if you're making a visually light-colored dessert.
- Honey or Maple Syrup: While not strictly granular, these natural liquid sweeteners can also be used. They will impart their distinct flavors to the condensed milk (honey will make it taste like honey, maple like maple). Honey is not vegan, if that's a consideration. Be aware that the liquid content might require slightly longer reduction time.
Keto & Sugar-Free Sweetener Options:
For those avoiding traditional sugars, several excellent zero-carb sweeteners can yield a delicious, keto-friendly sweetened condensed coconut milk.
- Erythritol: This sugar alcohol is a popular choice for keto baking due to its mild taste and virtually zero net carbs. It performs very well in this recipe, producing a condensed milk with a clean, sweet flavor. Some people might detect a slight "cooling" sensation, but this is usually minimal when cooked into a recipe. Powdered erythritol dissolves more easily than granular.
- Allulose: A fantastic newer option for keto, allulose is a rare sugar that behaves very similarly to regular sugar in terms of browning and caramelization, without the caloric impact. It's excellent for a rich, well-rounded flavor and texture.
- Monk Fruit/Stevia Blends: These highly concentrated sweeteners can also be used, but proceed with caution. They are much sweeter than sugar or erythritol, so you'll need to use significantly less. Always refer to the package for conversion ratios and adjust to taste to avoid any potential aftertaste. Blends that include erythritol are generally easier to work with.
Regardless of your choice, ensure your sweetener dissolves completely during the simmering process for a smooth, homogenous condensed milk.
Mastering the Art of Simmering: Your Step-by-Step Guide
The process of making sweetened condensed coconut milk is straightforward, but it does require your attention. Here’s how to do it right:
- Combine & Heat: Pour the two cans of full-fat coconut milk into a heavy-bottomed saucepan. Using a heavy-bottomed pan helps prevent scorching. Place it over medium-high heat and bring the coconut milk to a gentle simmer.
- Add Sweetener: Once simmering, add your chosen sweetener (and the optional pinch of salt and vanilla, if using). Stir continuously to help the sweetener dissolve completely. This is crucial for a smooth texture.
- Simmer & Reduce: Lower the heat slightly to maintain a consistent, gentle simmer. This is where the "babysitting" comes in. You need to stir the mixture frequently, almost constantly, especially as it thickens. This prevents the bottom from scorching and ensures even reduction.
- Monitor Reduction: The goal is to reduce the mixture by about half. This typically takes 15-25 minutes, depending on your stovetop, pot size, and initial heat. A useful trick: before you start cooking, dip a heatproof spoon or spatula into the coconut milk and note the liquid level. As it cooks, you can use this as a guide to see when it has reduced by roughly half.
- Check for Consistency: As the mixture reduces, it will visibly thicken. It should be thick enough to coat the back of a spoon and fall off slowly. Remember, it will continue to thicken significantly as it cools. If it seems a little too thin off the heat, don't worry too much; cooling will do most of the work. If it's still very watery after reducing by half, simmer for a few more minutes.
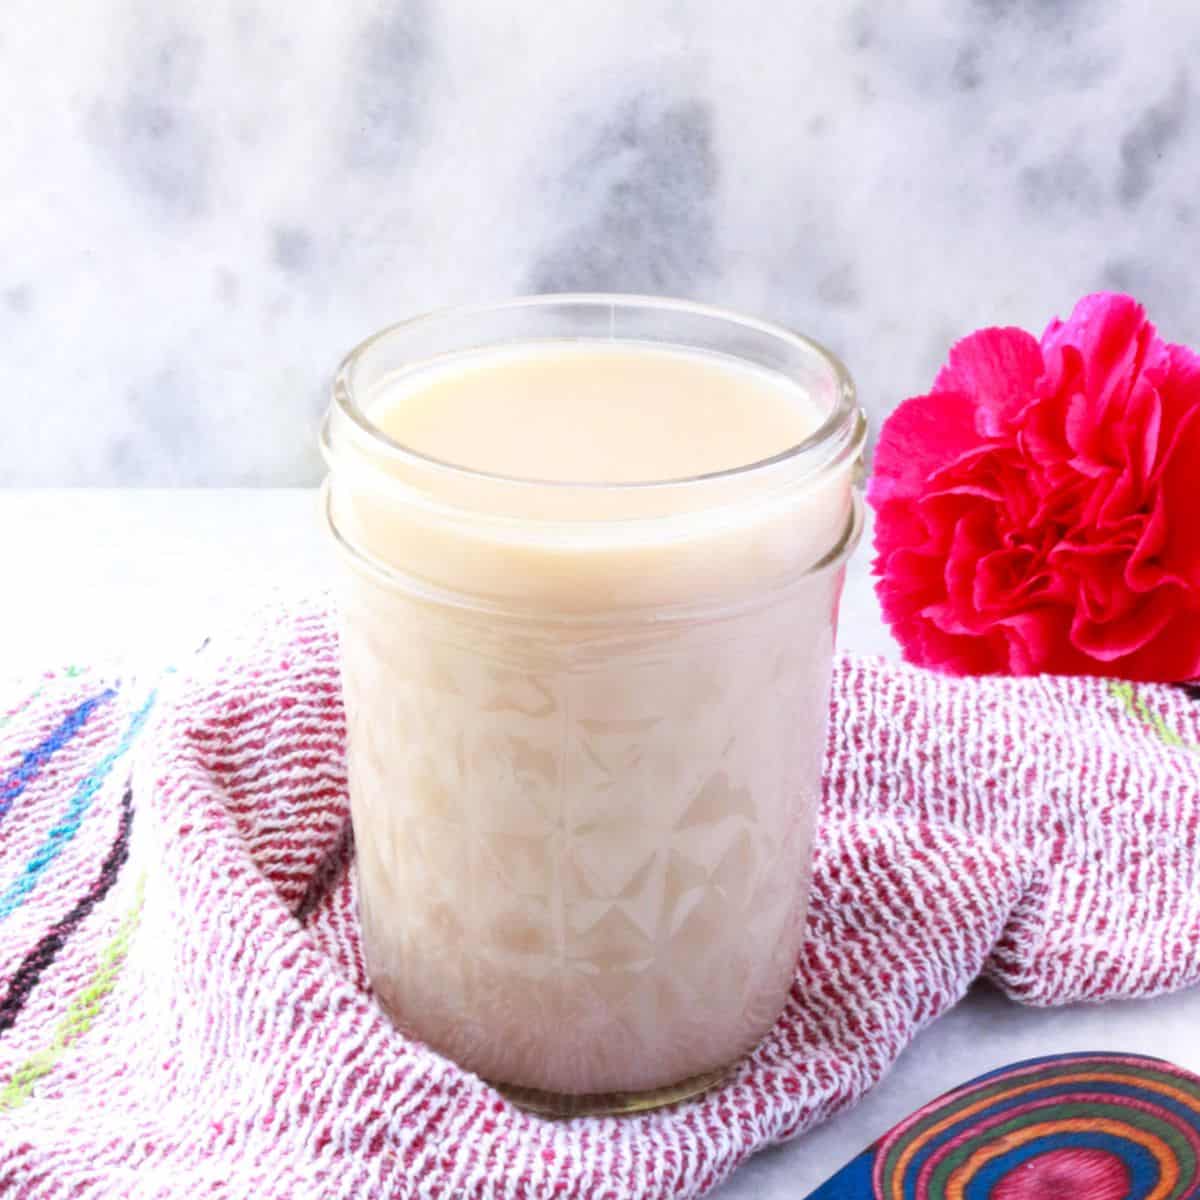
- Cool & Store: Once it reaches the desired consistency, remove the pan from the heat. Pour the sweetened condensed coconut milk into a clean, airtight glass jar or container. Allow it to cool completely at room temperature before transferring it to the refrigerator. This cooling period is vital for it to reach its ultimate thick and creamy consistency.
Pro Tip: If you're doubling or tripling the recipe, use a wider pot. A larger surface area will allow the liquid to evaporate more quickly, preventing an excessively long reduction time.
Creative Uses & Storage Tips for Your Homemade Delight
Once you've made your batch of homemade sweetened condensed coconut milk, a world of dairy-free deliciousness awaits! It acts as a perfect one-to-one substitute for traditional sweetened condensed milk in nearly any recipe, lending a subtle, delightful hint of coconut flavor.
Delicious Applications:
- Baking: From dairy-free pies (like key lime or pumpkin) and chewy bar cookies to rich fudges and creamy cheesecakes, this ingredient adds essential moisture, sweetness, and structure.
- Desserts: Whisk it into no-churn ice cream bases for unbelievably creamy results, fold it into mousse, or use it to whip up a luscious frosting.
- Beverages: Stir a spoonful into your morning coffee or tea for a luxurious, dairy-free creamer. It's especially fantastic in homemade Thai Iced Coffee or a Vietnamese-style iced coffee.
- Sauces & Glazes: Create quick dessert sauces, glazes for cakes, or even a rich base for certain savory dishes that benefit from a touch of sweetness and creaminess.
Storage & Shelf Life:
Your homemade sweetened condensed coconut milk should be stored in an airtight glass container in the refrigerator. Properly stored, it will last for about 1 to 2 weeks. Always check for any signs of spoilage (off smell, mold) before using. You can also freeze it in ice cube trays or small containers for longer storage, simply thaw in the refrigerator when ready to use.
Conclusion
Diving into the world of homemade sweetened condensed coconut milk is a game-changer for anyone seeking delicious, dairy-free alternatives. It's a testament to how simple ingredients, a little patience, and a willingness to get creative in the kitchen can yield truly remarkable results. Whether you opt for a traditional sugar-sweetened version or a health-conscious keto alternative, you'll be rewarded with a versatile, creamy, and undeniably delicious staple that will elevate your baking and beverage creations. So, gather your ingredients, fire up your stovetop, and prepare to be amazed by the magic you can create with just a couple of cans of coconut milk and your chosen sweetener!
