Mastering Easy Dairy-Free Sweetened Condensed Coconut Milk at Home
In a world increasingly embracing plant-based living and mindful eating, finding delicious dairy-free alternatives for classic ingredients is a game-changer. One such hero in the dairy-free pantry is sweetened condensed coconut milk. This luscious, creamy elixir is the secret weapon behind countless dairy-free desserts, from decadent pies and fudgy bars to rich ice creams and creamy beverages. While store shelves offer a few options, mastering homemade sweetened condensed coconut milk is surprisingly easy, incredibly rewarding, and opens up a world of culinary possibilities.
Far from daunting, crafting this essential ingredient from scratch requires minimal effort and just a couple of staple ingredients. Imagine controlling the sweetness, consistency, and even the type of sugar, making it perfectly tailored to your dietary needs – whether you're looking for a classic sweetened version or a keto-friendly, sugar-free alternative. This comprehensive guide will walk you through everything you need to know to create perfect sweetened condensed coconut milk every single time, ready to transform your dairy-free baking and beyond.
Why Homemade Sweetened Condensed Coconut Milk Reigns Supreme
The allure of making sweetened condensed coconut milk at home extends far beyond simple cost savings. While it's true that specialty dairy-free products can be pricey, the real benefits lie in control, customization, and superior results. Here's why you should consider making it yourself:
- Uncompromised Ingredient Control: When you make it yourself, you know exactly what goes into your condensed milk. No mystery additives, no obscure thickeners, just pure full-fat coconut milk and your chosen sweetener. This transparency is invaluable for those with specific dietary restrictions or preferences.
- Dietary Flexibility & Customization: This is where homemade truly shines.
- Sugar Choices: Experiment with different sweeteners to achieve varied flavor profiles. Organic cane sugar offers a clean, neutral sweetness, while coconut sugar lends a beautiful caramel hue and depth of flavor. Honey can also be used for a distinct taste, though it makes the product no longer vegan.
- Keto and Sugar-Free Options: For those following a ketogenic or sugar-free diet, sweeteners like erythritol work wonderfully, allowing you to enjoy dairy-free treats without the added sugars. We delve deeper into these options in our article Homemade Sweetened Condensed Coconut Milk: Sugar & Keto Options.
- Superior Freshness and Flavor: Like any homemade ingredient, fresh is often best. The vibrant, creamy taste of freshly made sweetened condensed coconut milk can elevate your recipes in a way store-bought versions might not. You also get a subtle, delightful hint of coconut, which adds an exotic touch to many dishes.
- Accessibility: Full-fat coconut milk and various sugars are readily available in most grocery stores, making this a highly accessible recipe even for those in areas with limited specialty product selections.
The Simple Science Behind Perfect Sweetened Condensed Coconut Milk
At its heart, making sweetened condensed coconut milk is a straightforward process of reduction. You're essentially simmering full-fat coconut milk with sugar until a significant portion of the water evaporates, leaving behind a thicker, more concentrated, and wonderfully sweet coconut cream. Understanding a few key principles ensures your success:
Essential Ingredients and Their Roles:
- Full-Fat Coconut Milk: This is non-negotiable. The high fat content in full-fat coconut milk is crucial for achieving the rich, creamy texture and body characteristic of condensed milk. Light coconut milk simply won't reduce and thicken adequately. Look for brands with minimal additives.
- Sweetener of Choice: As discussed, your choice of sugar or keto sweetener will impact both flavor and color.
- Organic Cane Sugar: Delivers a classic, pure sweetness and a light color.
- Coconut Sugar: Expect a darker, caramel-colored condensed milk with a distinct, deep caramel flavor. This can be fantastic for certain dessert profiles.
- Erythritol/Other Keto Sweeteners: These will yield a sugar-free version, typically with a lighter color and no caramelization.
- Optional Flavor Boosters: While not strictly necessary, a tiny pinch of salt can miraculously balance the sweetness and enhance overall flavor. A splash of vanilla extract (1/2 teaspoon, adjusted to taste) can also add a beautiful aromatic depth, making your condensed milk even more versatile.
The Reduction Process:
The magic happens on the stovetop. As the coconut milk and sugar simmer, water evaporates, concentrating the sugars and fats. This not only sweetens the mixture but also significantly thickens it. The goal is to reduce the volume by roughly half, which typically takes around 15-20 minutes, though this can vary based on your pan size (a wider pan means more surface area for evaporation, thus faster reduction) and heat level.
The "Babysitting" Factor: While easy, this isn't a "set it and forget it" recipe. Constant, gentle stirring is vital. Coconut milk, especially when reducing, can scorch easily at the bottom of the pan if left unattended. Frequent stirring ensures even heat distribution, prevents burning, and keeps the mixture smooth and homogenous.
Your Step-by-Step Guide to Perfect Sweetened Condensed Coconut Milk
Gathering Your Essentials:
Before you begin, ensure you have these simple ingredients and tools ready:
- Ingredients:
- 2 cans (approx. 13.5 oz / 400ml each) full-fat coconut milk
- ½ cup to ¾ cup (approx. 100-150g) of your preferred sweetener (e.g., organic cane sugar, coconut sugar, erythritol) – adjust to your desired sweetness level.
- Optional: Pinch of sea salt, ½ teaspoon vanilla extract
- Equipment:
- Medium-sized heavy-bottomed saucepan (to prevent scorching)
- Whisk or silicone spatula for stirring
- Heatproof utensil (like a wooden spoon or chopstick) for measuring reduction
- Glass jar or airtight container for storage
The Cooking Process:
- Combine & Heat: Pour both cans of full-fat coconut milk into your saucepan. Add your chosen sugar or sweetener. If using salt, add it now.
- Bring to a Simmer: Place the saucepan over medium-high heat. Whisk gently to dissolve the sugar. Once the mixture begins to simmer (you'll see small bubbles forming around the edges), reduce the heat to medium-low, maintaining a gentle, consistent simmer.
- The Reduction: This is the crucial stage.
- Measure Your Starting Point: Insert your clean, heatproof utensil into the coconut milk mixture and note the liquid's level. This will be your visual guide for when the mixture has reduced by half. Remove the utensil.
- Stir Continuously: Continue to simmer, stirring frequently with your whisk or spatula. Pay attention to the bottom and edges of the pan to prevent any sticking or scorching.
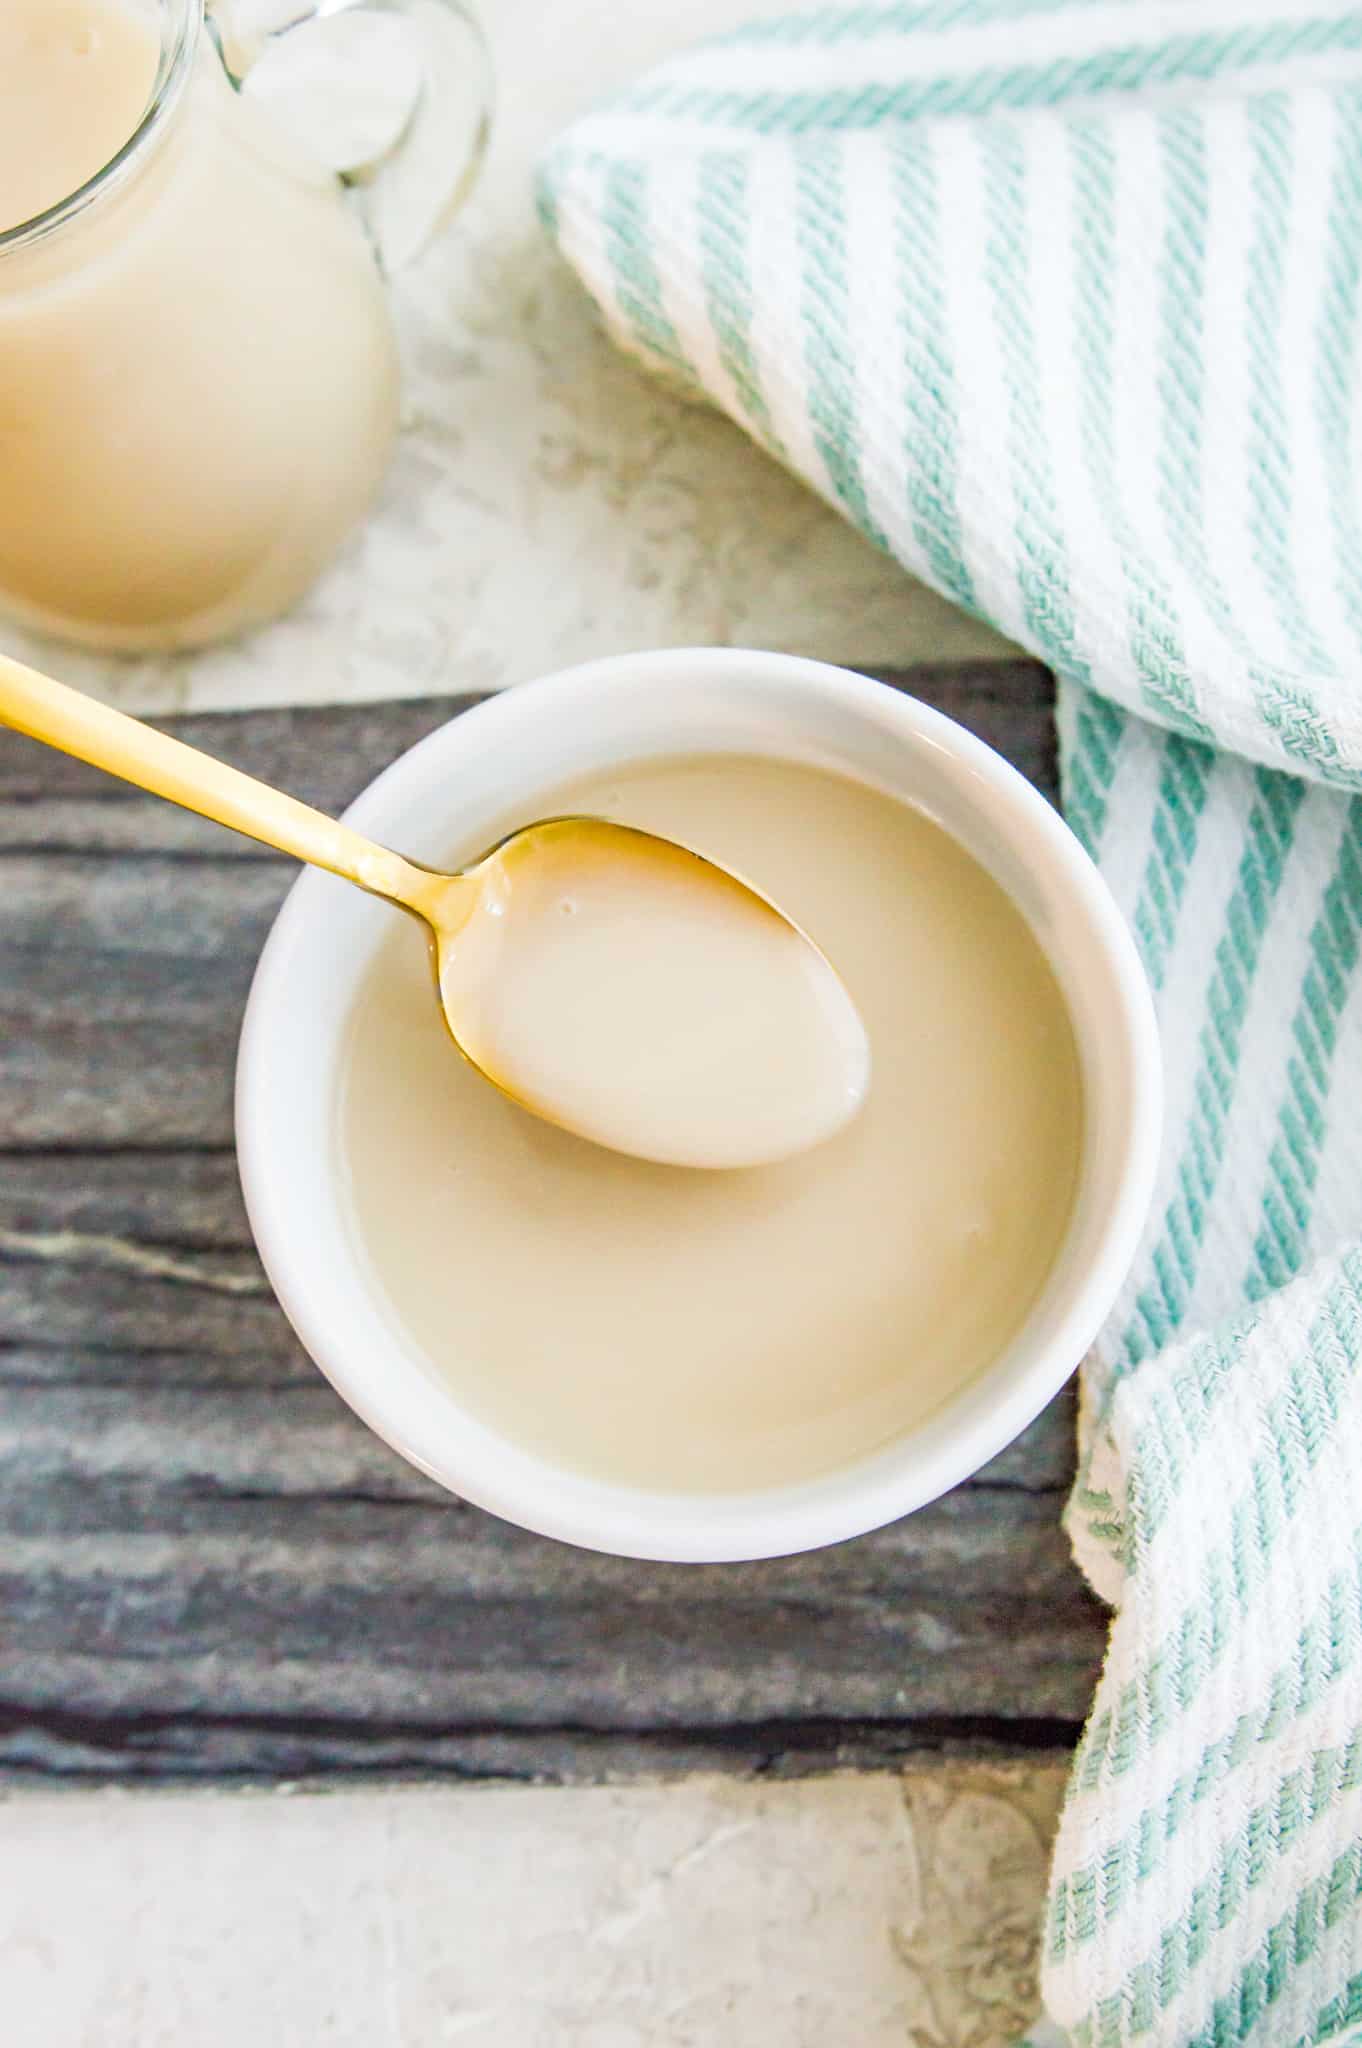
- Monitor & Reduce: Keep simmering and stirring until the mixture has noticeably thickened and reduced in volume by about half. Check against your initial mark on the utensil. This typically takes around 15-25 minutes, depending on your heat and pan. The consistency should be thick enough to coat the back of a spoon and slowly drip off. Remember, it will thicken significantly more as it cools.
- Add Vanilla (if using): If you're incorporating vanilla extract, stir it in during the last minute of simmering.
Cooling and Storage:
- Cool Completely: Carefully pour your freshly made sweetened condensed coconut milk into a clean glass jar or heatproof container. Allow it to cool completely at room temperature. This cooling process is essential as the mixture will thicken considerably as it cools, achieving that familiar condensed milk texture.
- Store: Once fully cooled, seal the container and store your homemade sweetened condensed coconut milk in the refrigerator. It will keep well for up to 1-2 weeks. This recipe yields approximately 12-14 ounces, roughly equivalent to one standard can of traditional sweetened condensed milk.
Unleashing the Versatility: How to Use Your Homemade Sweetened Condensed Coconut Milk
Your homemade sweetened condensed coconut milk is a versatile powerhouse, ready to step into any recipe calling for its dairy counterpart. Its subtle coconut flavor adds a delightful tropical nuance that enhances many dishes.
- Dairy-Free Desserts: This is where it truly shines. Use it as a 1:1 replacement in:
- Creamy pies (think pumpkin or key lime)
- No-bake bars and fudge recipes
- Rich no-churn ice creams (like a coffee or mango coconut ice cream base)
- Decadent truffles and candies
- Beverage Booster: Stir a spoonful into your morning coffee or tea for a creamy, naturally sweetened touch. It's a fantastic addition to Thai Iced Coffee, enhancing its signature richness.
- Frostings and Creams: Whip it into dairy-free frostings, soft creams, or even a vegan ganache for an extra layer of flavor and luxurious texture.
- Beyond Baking: Experiment with savory applications where a hint of sweetness and creaminess is desired, such as in certain curries or sauces, though always taste and adjust.
The beauty of this homemade staple lies in its adaptability. Don't be afraid to experiment and discover new ways to incorporate this delightful dairy-free ingredient into your culinary repertoire.
Conclusion
Making your own sweetened condensed coconut milk is a simple, satisfying, and empowering culinary skill. It provides a pure, customizable, and delicious alternative for a wide array of dairy-free and vegan recipes, allowing you to create decadent treats without compromise. With just two main ingredients and a little patience, you can master this essential component and unlock a world of creamy, sweet possibilities in your kitchen. So, gather your ingredients, fire up the stove, and prepare to elevate your dairy-free cooking to a whole new level!
